You Thinking About Buying a Composter or Your Banana Peels
These are the rock stars of backyard composting if you want quick results without too much shoveling. A tumbler is basically a bin on a stand that you can crank or roll around the yard
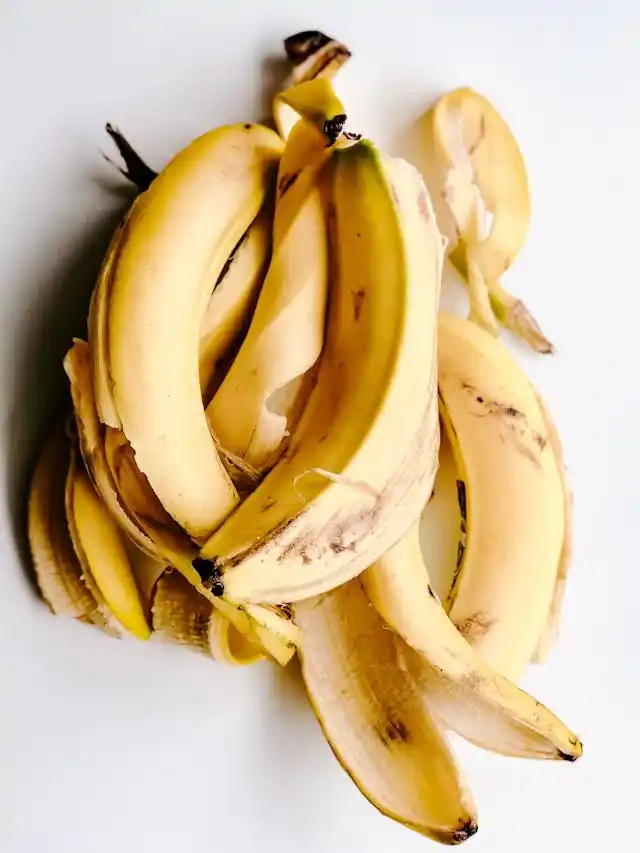
Let us talk compost. You have been tossing banana peels in the trash and wondering if maybe—just maybe—there is a better use for all that kitchen junk and yard debris. Spoiler: there absolutely is. Composting is like a superpower for gardeners. It turns trash into treasure, or more specifically, it turns wilted lettuce and dead leaves into nutrient-rich black gold that your garden is going to love.
And yes, you can just make a pile in the corner of your yard and wait. But if you want to do it a little faster, cleaner, and without inviting every raccoon in a three-mile radius, it might be time to look into getting yourself a proper composter.
Let me walk you through it like I would if we were talking over coffee—dirty gardening gloves and all.
First Things First
What Are You Even Composting?
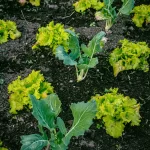
Good question. Compost is basically broken-down organic stuff—think old vegetable scraps, fallen leaves, grass clippings, coffee grounds, shredded newspaper. The good, earthy-smelling stuff that used to be alive and now wants a second career as plant food.
The trick is mixing “greens” (like fresh grass, kitchen scraps) and “browns” (like dry leaves, twigs, and paper). You need a good balance of both to keep things from getting slimy or stinky.
Also, do not toss meat, dairy, or anything too oily in there unless you enjoy surprise visits from critters and trust me, you do not.
So…. What Kind of Composter Should You Get?
Now we are getting into the fun part. There is no one-size-fits-all answer here, but I can tell you what has worked for me—and what has not.
The Trusty Old Compost Tumbler
If you are into quick results and hate turning piles with a pitchfork (who does not?), a tumbler might be your new best friend. Picture a barrel on a stand that you can spin around every few days. That spinning action mixes everything up and gets air in there, which speeds things along.
Most tumblers will give you finished compost in about five weeks if you are consistent. I once had one that got so hot in the summer it steamed when I opened it. Felt like I was opening a witch’s cauldron.
Prices are not too bad either—usually under $100.
Tip: Tumblers are great for folks with small yards or less time and they are totally rodent-proof, which is a huge win.
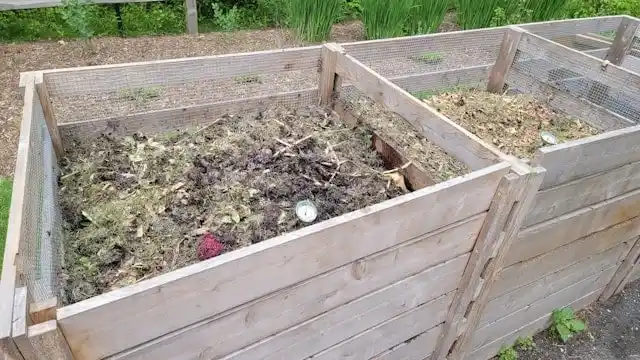
The Three-Bin System (For the Hardcore Garden Nerds)
If you are ready to commit—or just have a lot of yard waste—go with a three-bin setup. It sounds fancier than it is. Basically, one bin is for new stuff, the next one is where you mix and turn, and the last bin is for finishing compost. It is like an assembly line for dirt.
I used one of these at a community garden and loved it. You can turn with a shovel, aerate everything nicely, and keep things moving without too much effort. It does take up space though, and you will be doing a bit more physical work.
Expect to spend up to $200 if you want a durable, pre-made one. I have seen folks build their own out of pallets for next to nothing too.
Worm Bins (Yes, Worms. Stay With Me.)
Now, if the idea of a tub full of squirmy red worms does not make you run for the hills, let me tell you—vermicomposting is weirdly awesome. Worm bins are indoor or outdoor setups where red wigglers chow down on your food scraps and turn them into ultra-rich compost.
I started one under my kitchen sink one winter and got completely hooked. No smell, no mess, just quiet little composting machines doing their thing.
Worm bins usually cost about $100, and a starter batch of worms might run another $35. Not bad for a system that basically feeds itself and never complains.
Tip: Use shredded newspaper or coconut coir as bedding, and avoid citrus—it makes the worms cranky.
The Extras You Might Want (But Probably Will Forget About)
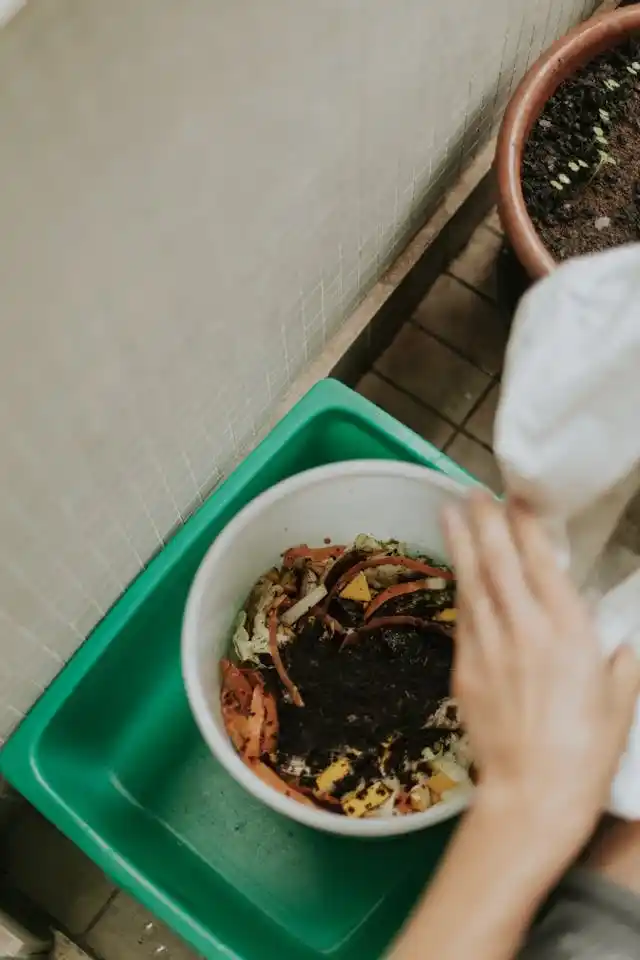
Covered Scrap Bucket –> You will need a place to stash your kitchen scraps before they make the trip to the composter. A basic bucket with a lid will do. I keep one under the sink and dump it out every few days.
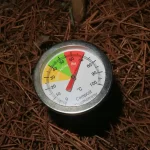
Compost Thermometer –> Okay, this one is optional but fun if you are nerdy like me. It tells you how hot your compost pile is, which can be important for killing weed seeds and pathogens. A decent one costs around $30.
Some Real Talk: Things You Should Know Before You Dive In
Hot Composting = Faster and Cleaner –> Tumblers and well-aerated piles heat up nicely. That heat is what breaks things down quickly and kills weed seeds. Cool piles still work, just more slowly.
City Programs Are a Thing –> A lot of cities and counties actually offer free or discounted compost bins to residents. Look into it before buying. I got my first one for $25 through a local program.
Critters Will Show Up If You Invite Them –> Keep meat, dairy, and anything oily out of your pile unless you are trying to feed the local rat population and always use a bin with a lid if you are composting in the city.
So, Which One Should You Get?
That depends on your setup and your patience level. If you are new to this and want something easy: go with a tumbler. If you are all in and have the space: try a three-bin system. If you are tight on space, love the idea of indoor composting, or just want to watch worms eat your trash: get a worm bin.
Whatever you pick, do not stress too much. Composting is forgiving, and plants are not picky about how their compost was made.
Just start.
You will figure it out as you go—one banana peel at a time.
Got questions? I would love to hear them and if you are still not sure which bin to buy, send me a picture of your backyard and I will give you my honest gardener opinion. Happy composting!