How I Test My Soil And Why You Should Too Before Planting Anything New
Why Testing Your Garden Soil Before You Plant What You Need & Why It Matters. I Test My Soil The Simple Way. Here Is How I Collect Samples, Read Results, And Fix Issues.
Let me tell you something I learned the hard way: before you toss a single seed into your garden soil, you really ought to know what is going on down there. I used to assume that if the dirt looked okay, it was okay. Big mistake. My kale came out bitter, my tomatoes refused to ripen, and my sunflowers flopped over like they had been emotionally defeated. Turns out, I had a major soil nutrient deficiency and a pH level that could have stripped paint.
So now, whenever I am planting something big—like a vegetable garden, a new flower bed, or even just redoing part of the landscaping—I start with a soil test. It is not complicated, and honestly, it saves me a lot of frustration (and money) later.
Here is how I do it step by step, no fluff, just real dirt talk.
Do You Even Need to Test?
Short answer? Yes, if you care at all about plant health care. Especially before major planting projects like putting in a lawn, building raised beds, or growing food. The goal is to figure out what is missing—or what there is too much of—before your plants start struggling.
Once the plants are in the ground, it is a lot harder (and more expensive) to fix problems. So trust me on this. Test first, dig later.
Where to Get Your Soil Professionally Tested
You have got two options here. First, check with your local county cooperative extension office. A lot of them offer professional soil testing services or can point you in the right direction.
If you strike out there, look up a soil laboratory (you might still find one in the Yellow Pages, oddly enough). These labs analyze your soil in great detail—soil pH, nutrient content, even the texture. And the good ones will send you a full report with super specific recommendations, like “add lime” or “go easy on the nitrogen.”
This is not just science—it is practical advice for improving your garden soil the right way.
What You will Need Before Sending It In
Most labs will send you a little packet with instructions, a soil bag, and a form to fill out. Follow their directions, but here is what the process usually looks like, based on my own backyard adventures.
How I Collect a Soil Sample
- Time it right. I try to do this a few months before planting anything serious. Gives me time to apply soil amendments if needed.
- Choose your spots wisely. I grab soil from five to ten different areas of the garden, especially places that look or perform differently. Front yard, backyard, under the tree—whatever. If your soil changes from clay to sand within ten feet (ask me how I know…), take separate samples and label them.
- Dig like a soil detective. For each spot, I dig a 6–8 inch hole, toss out the first scoop (that top layer is not helpful), and then slice out a 1-inch wide chunk from the back of the hole.
- Mix it all together. I throw all those slices into a clean bucket. Then I use a trowel or my gloved hands to mix them like salad.
- Bag it up. I take about a pint of that mixed soil and place it in a plastic bag. Dry soil is best—it weighs less and is easier to work with. Seal it up and label it with your name, the date, and which part of the garden it came from.
- Send it off. Include the form or any info the lab asked for. Then wait—results can take up to six weeks, depending on how busy the lab is.
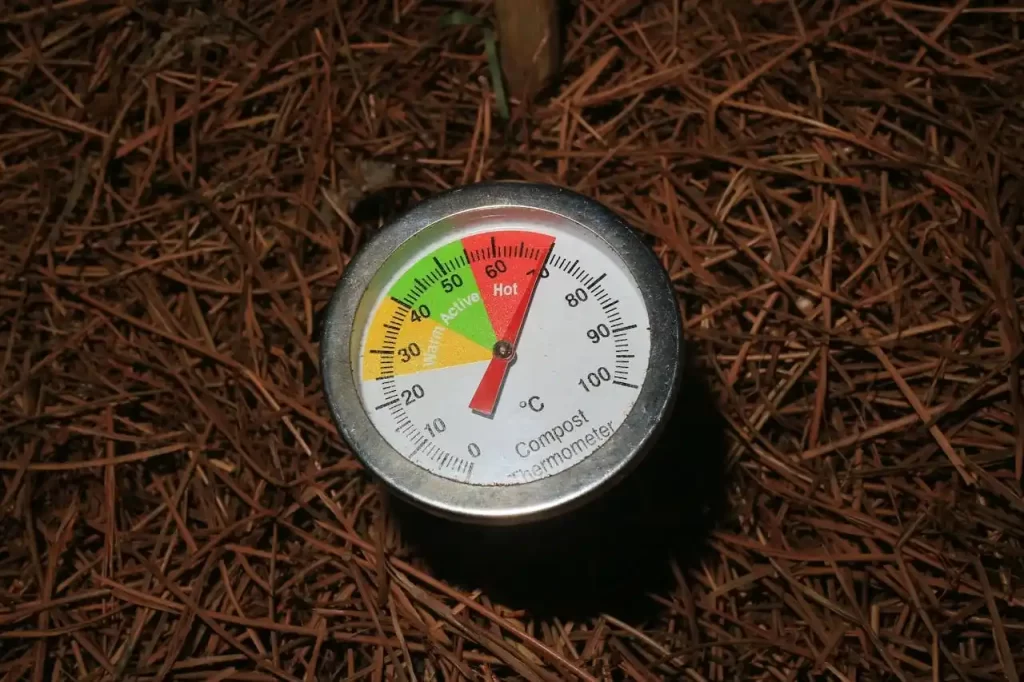
But What About DIY Soil Testing Kits?
Great question. I have tried a few of those DIY soil test kits from the garden center. Some of them are decent for getting a rough idea—especially the ones that test for soil pH or nitrogen—but none of them match the accuracy of a lab test. If you are in a hurry and just want to check something basic, go ahead and try the best soil test kit you can find at Lowes or your local hardware store.
Just remember: they are kind of like over-the-counter tests. Helpful, but not as thorough as a full workup.
What to Do with the Results
This is where the real magic happens. Once the results come in, take a good look at the soil nutrient content, the pH levels, and whatever else they include.
- If your soil is too acidic or alkaline, the report might recommend lime or sulfur for pH balance.
- Low nitrogen? Time to think about adding the best organic compost or a slow-release fertilizer.
- Got heavy clay? You might be told to start amending clay soil with sand and compost, or build a well draining soil mix from scratch.
- Missing trace elements? That is where specialized soil amendments come in handy.
Knowing how to read soil test results may feel like deciphering a treasure map at first, but the extension office or lab usually includes a guide. Some even offer consultations.
How Often Should You Test?
In my experience, every five years is a good rhythm. That way, you can keep tabs on how all those cheap ways to improve soil—like composting or adding mulch—are actually working. If you are constantly tweaking things (like I am), testing every three years might make more sense.
Testing your soil is not fancy or high-tech. It is just smart. Whether you are prepping a bed of tulips or chasing the dream of the best soil for vegetable gardens, knowing what is happening underground will save you a lot of guesswork.
There are loads of ways to improve soil fertility, but they only work if you know what your soil actually needs. Otherwise, you are just tossing amendments around like seasoning on soup you never tasted.
So grab a shovel, dig a little, and send that dirt off for some answers. Your plants will thank you—probably by not dying.
And hey, if you are wondering how to prepare soil for planting, that all starts with knowing what is in your soil to begin with. The rest? That is the fun part.