How to Care for Topiaries? – A Keeping Your Living Sculptures Lush and Lovely
You Want to Keep Your Topiary Alive? Topiary plants are usually grown in containers and one most common mistakes people make is underwatering or overwatering.
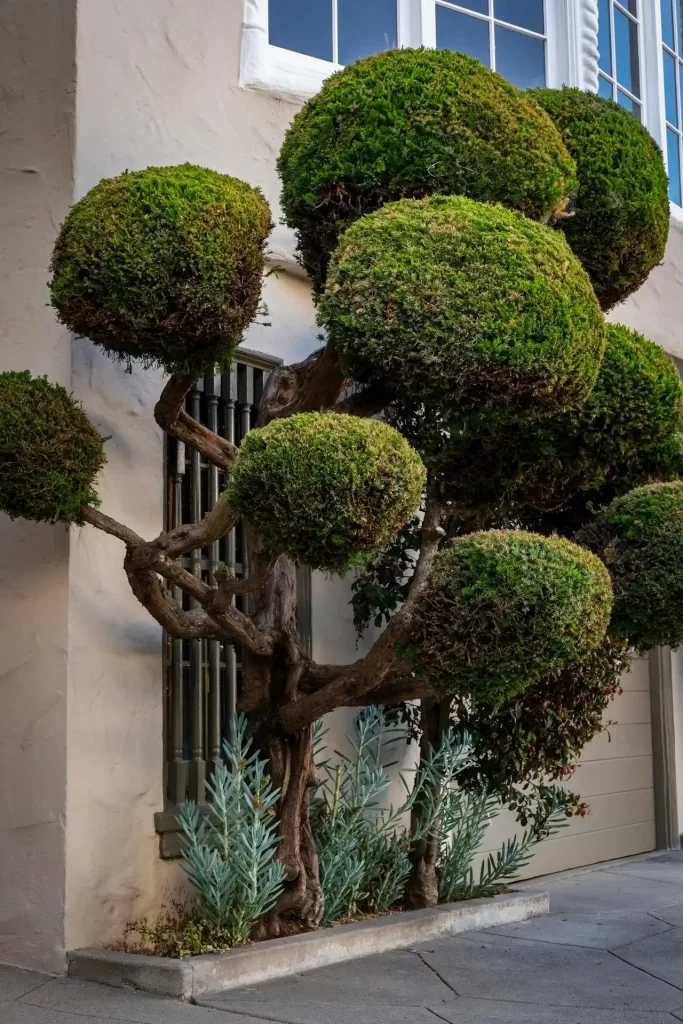
Alright, so maybe you inherited a snazzy little spiral boxwood from Aunt Marge. Or maybe you saw someone shape a rosemary bush into a bunny once and thought, “That seems doable.” Either way, welcome to the chaotic and oddly satisfying world of topiary care.
Topiaries are like the divas of the plant kingdom. They look fabulous, but behind the scenes, they need attention. Real attention. Not the once-a-month kind. I learned this the hard way when my first topiary dried into something that looked like a shriveled Christmas wreath.
Let me walk you through how I actually keep these green sculptures alive.
Step One: Keep the Soil Moist (But Not Swampy)
Topiaries are not desert plants. Ivy, boxwood, rosemary—they all get pretty cranky when their soil dries out too much. If the leaves start browning around the edges, that is your plant yelling at you for neglect.
I usually poke a finger an inch or so into the soil. If it feels dry, time to water. If it feels soggy, maybe skip it for now. Watering too much is just as bad, and yes, I have over-loved a plant before.
Step Two: No Wet Feet Allowed
Topiary roots hate sitting in water. Think of it like wearing wet socks all day—it ruins the mood. Water that collects in the saucer under the pot can cause the roots to rot, and then things go downhill very fast.
My little trick? Fill the saucer with gravel. That way, if any water collects, the pot stays slightly elevated. The roots avoid direct contact with the water, and everyone stays happy.
Step Three: Feed It… Gently
Yes, plants need food, but too much of it? That leads to wild, fast growth, which kind of defeats the whole purpose of a neat and sculpted topiary.
I usually go with a slow-release fertilizer once in the spring. That is it. No weekly feeding schedule, no fancy concoctions. Just one good dose and let the plant do its thing.
Step Four: Tame the Wild Ones
Topiaries like structure, and that means no rogue branches doing their own thing. When you see a shoot trying to escape the form, tuck it back in. Sometimes I use my fingers. If it is a woody vine, I grab a soft twist tie and gently fasten it to the frame.
Do not yank or force anything. This is not topiary wrestling.
Step Five: Help the Vines Follow the Rules
Vines are lovely, but also dramatic. They grow where they want, unless you remind them who is boss. Guide the vines back onto the frame, and tie them gently if needed.
Think of yourself as a leafy sculptor. Every little adjustment matters.
Step Six: Prune Without Fear
You will see random growth popping out—long, awkward branches that ruin the shape. That is your cue to grab a good pair of bypass pruners and trim it back to the main body of the plant.
Pruning encourages the plant to fill out. It makes everything look full, healthy, and a bit more polished. Do not worry about getting it perfect. Plants forgive bad haircuts better than people do.
A Few Tips I Wish Someone Had Told Me Earlier
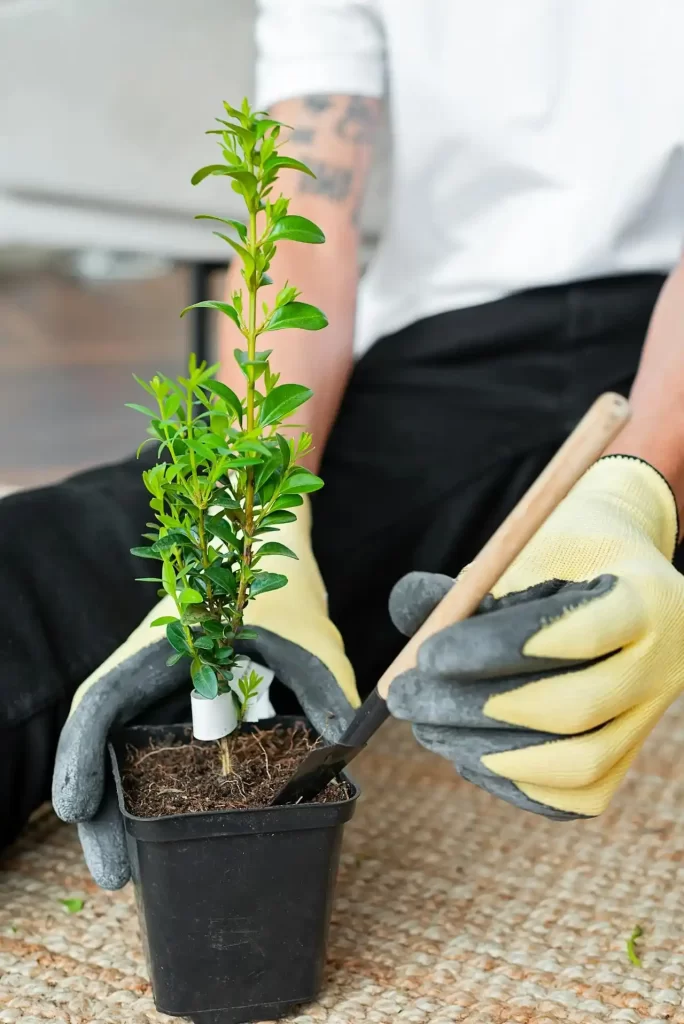
Topiary plants that are great for beginners include boxwood, yew, arborvitae, rosemary, and euonymus. They respond well to shaping and recover from small mistakes.
Do not leave your topiary baking in full sun or exposed to harsh winds. Mine lives on a patio that gets morning light and afternoon shade. It seems to enjoy that kind of relaxed environment.
If your topiary dries out badly, do not panic. Fill a tub or a bucket with water and gently submerge the entire pot until it stops bubbling. This helps rehydrate the soil from the bottom up. I have done this more times than I would like to admit.
Last Before You Grab the Pruners
Topiary is part gardening, part sculpting, and part emotional rollercoaster. You will make mistakes. A few branches will look weird. But that is part of the charm.
Try different shapes. Experiment a little. I once tried to create a cat. It looked more like a lopsided raccoon, but I was still proud.
Just keep it watered, give it light, and do not let the fast growers take over. Eventually, you will have something that looks like art and feels like an accomplishment.
Now go grab your clippers and have some fun.